
Plan your cutting lays in seconds. Enter your order, marker and fabric details below. The calculator gives you plies, lays, rolls, fabric needed and end-loss. Use any unit you like. Metric and imperial both work.
How to Use the Cutting Lay / Spread Planning Calculator
Start with your order quantity. Then enter how many garments fit in one marker. Add the marker length and width. Pick the unit you use. Metric and imperial both work.
Next, enter fabric width and roll length. Set the maximum plies your table can hold. Add the end allowance. This is the extra fabric at each end of a ply. Choose your spreading mode, then press Calculate.
The results appear below the buttons. You get plies, lays, rolls, total fabric, end-loss and remnants. Copy or share them with your team.
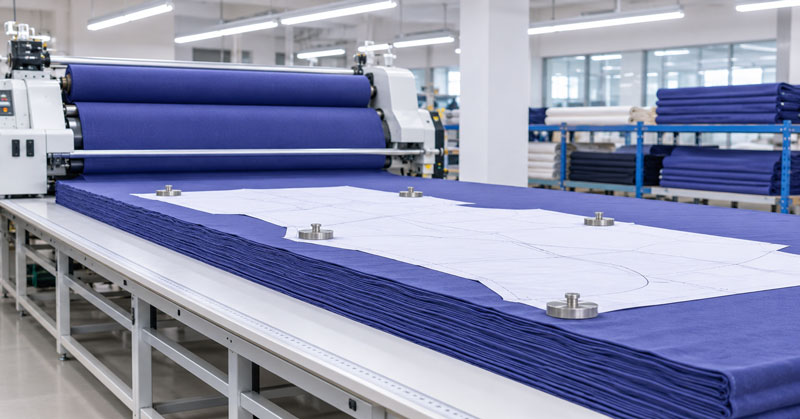
Understanding the Math: Fabric Utilization & Lay Optimization
The math is simple. Plies equal order quantity divided by garments per marker, rounded up. Lays equal plies divided by your maximum lay height, rounded up. Plies are then shared evenly across lays.
Ply length
Each ply is longer than the marker. You add the end allowance at both ends. So ply length equals marker length plus two allowances.
Total fabric and end-loss
Total fabric equals plies times ply length. Net fabric equals plies times marker length. The difference is end-loss. Even a small allowance adds up across hundreds of plies.
Utilization
Utilization combines marker efficiency with the ply-length ratio. Higher marker efficiency helps. Shorter end allowances help too.
Roll fit
Plies per roll equal roll length divided by ply length, rounded down. What is left over on each roll is a remnant. Fewer remnants mean less waste.
Benefits of Advanced Fabric Spread Planning in Garment Manufacturing
Good planning saves fabric. Fabric is often the biggest cost in a garment. A one percent saving matters on large orders.
It also saves time. Fewer lays mean fewer setups. Your cutters stay busy instead of waiting. Spreading crews know the plan before they start.
Planning improves quality too. Lay height stays within safe limits. Fabric does not get crushed or shifted. Cut parts stay accurate.
Finally, it helps purchasing. You know how many rolls to order. You avoid shortages and excess stock. Costing becomes more reliable.
Step-by-Step Guide to Minimizing Remnants and End-Loss
Follow these steps. They work for most factories.
1. Trim the allowance
Check your end allowance. Use the smallest value your fabric allows. Stretchy fabrics may need more. Stable wovens need less.
2. Match plies to rolls
Try to make plies per lay fit whole rolls. Adjust the maximum plies. Run the calculator again and compare.
3. Improve the marker
Ask your marker planner for a tighter marker. Even one extra point of efficiency helps. Match marker width to fabric width as closely as you can.
4. Use remnants wisely
Keep leftover rolls for small lays or sampling. Tag them with length and shade. Do not mix shades in one lay.
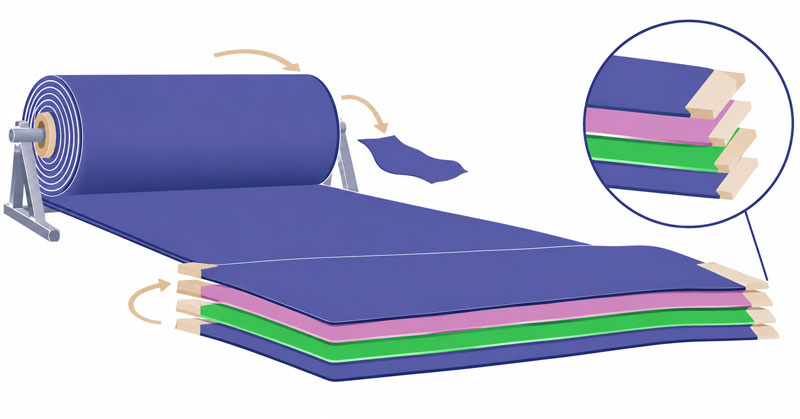
Common Spreading Modes and Their Impact on Marker Efficiency
Face-One-Way
Every ply faces the same way. The spreader returns empty after each ply. This is slower. It suits one-way prints and napped fabrics.
Face-to-Face
Plies alternate face up and face down. Spreading goes both ways. It saves time. Use it only when the fabric allows it.
Zig-Zag (continuous)
The fabric folds back and forth in one run. It is fast. It works well for plain fabrics with no direction.
Which one to choose
Pick the fastest mode your fabric permits. Direction and shade rules come first. Speed comes second.
Frequently Asked Questions
You also like: Fabric Spreading: Definition, Objects and Requirements


